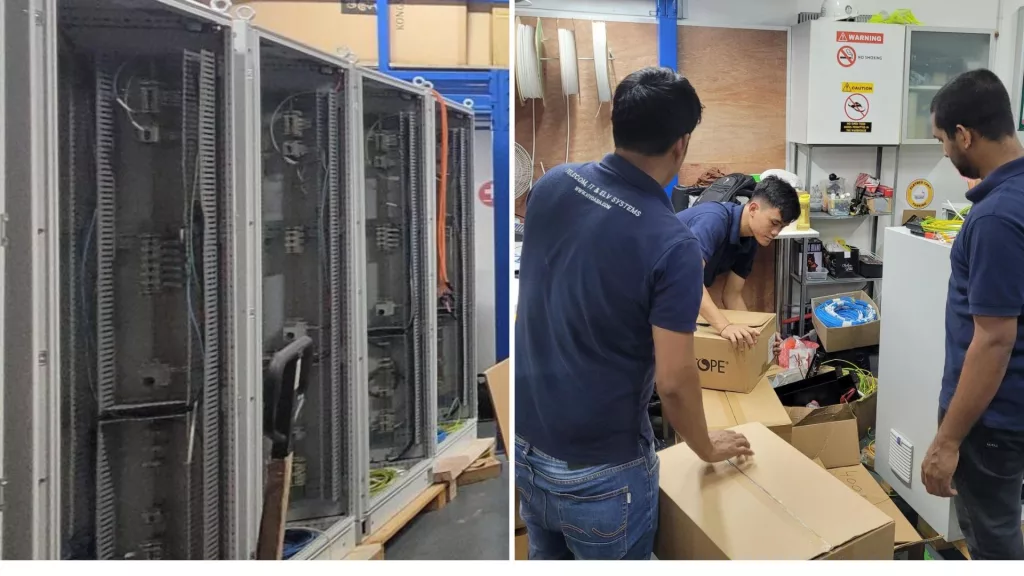
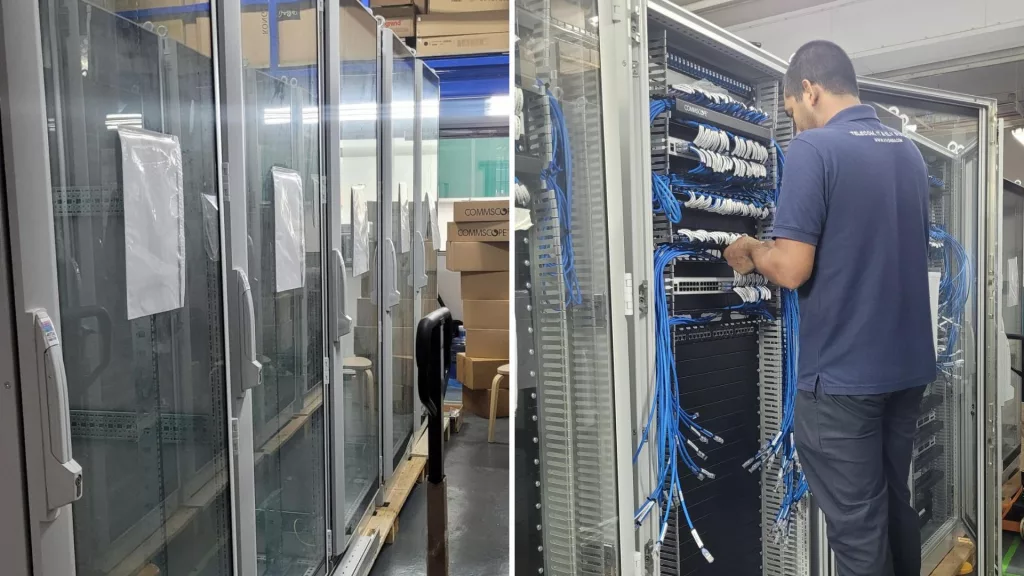
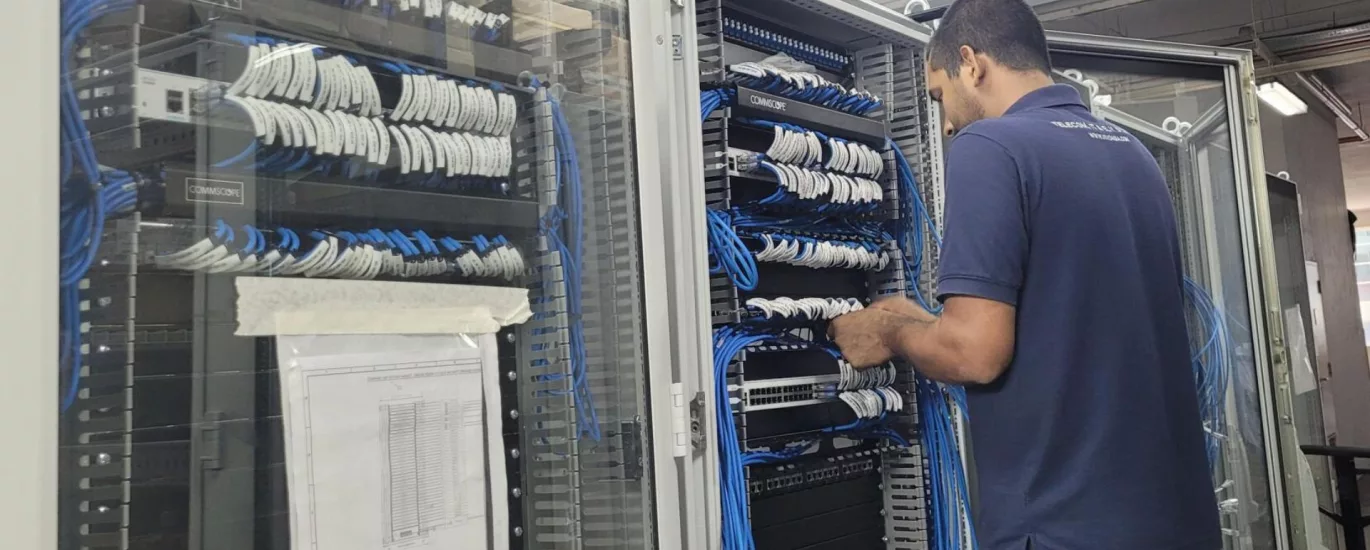
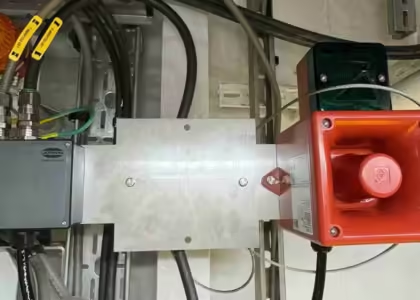
In the world of modern networking, Local Area Networks (LANs) are the lifeblood of communication within organizations. Efficient assembly of racks for LAN systems is essential to ensure smooth operations, scalability, and reliable connectivity.
This blog post will guide you through the process of assembling racks for your LAN system, highlighting key considerations and best practices.
Planning and Design
The first step in assembling LAN racks is meticulous planning and design. Start by assessing your organization’s current and future networking needs. Consider factors such as the number of servers, switches, routers, and access points required. Think about scalability to accommodate future growth. A well-thought-out design ensures that the rack assembly process is tailored to your specific requirements.
Equipment Selection
Carefully choose the networking equipment that will populate your racks. This includes servers, switches, patch panels, routers, and wireless access points. Ensure that the selected equipment is compatible with each other and aligns with your design specifications. Opt for high-quality, reliable hardware to minimize downtime and maintenance costs.
Rack Selection
Selecting the right rack is a critical decision. Consider factors such as rack size, weight capacity, ventilation options, cable management features, and security. Standard 19-inch racks are commonly used in networking environments. Additionally, rack height should accommodate the equipment you plan to install. Remember to leave space for future expansion.

Cable Management
Effective cable management is essential for the longevity and performance of your LAN system. Invest in cable trays, raceways, and cable organizers to keep cables organized and prevent tangling. Proper cable routing not only enhances aesthetics but also improves airflow, reducing the risk of overheating.
Assembly Process
The assembly process should be methodical and well-organized. Start by securing the rack to the floor or wall, ensuring stability. Install equipment following the design layout, starting with servers and larger devices at the bottom and switches, routers, and access points higher up. Use appropriate rack mount kits for each piece of equipment.
Power and Cooling
Ensure that power distribution units (PDUs) are installed correctly and provide adequate power to all devices. Implement a redundant power supply system for critical equipment to minimize downtime in case of power failures. Additionally, pay close attention to cooling. Adequate ventilation and, if necessary, cooling fans or air conditioning systems should be in place to prevent overheating.
Labeling and Documentation
Labeling and documenting your rack assembly are often overlooked but incredibly important. Label all cables and ports clearly for easy identification and troubleshooting. Maintain a comprehensive documentation system that includes rack diagrams, equipment inventory, IP addresses, and configurations. This documentation will be invaluable for future maintenance and troubleshooting.
Testing and Optimization
Before putting your LAN system into production, conduct thorough testing. Test network connectivity, equipment functionality, and performance. Optimize configurations for maximum efficiency. Regularly review and fine-tune your network to adapt to changing requirements and technologies.

Get the Right Team!
Assembling racks for a LAN system is a strategic process that requires careful planning, attention to detail, and adherence to best practices.
Team Vivo Asia has over 10 years of industry experience in supplying telecom, IT and ELV systems for harsh and hazardous environments. We are professional, efficient and well-versed in industry standards. Enquire today!


